guide-de-pose-papier-peint-a-encoller
Notice of installation

Installation Guide: Non-woven wallpaper installation guide

Are you looking to decorate your walls with our classic or premium non-woven paste-the-wall wallpaper? Please read this installation guide carefully before starting. If in doubt, our customer service team is available to help you.
You will need:
A measuring tape
A bucket for paste
A level
A brush
A step ladder
A sharp utility knife
Solvent-free non-woven wallpaper paste
A non-abrasive sponge
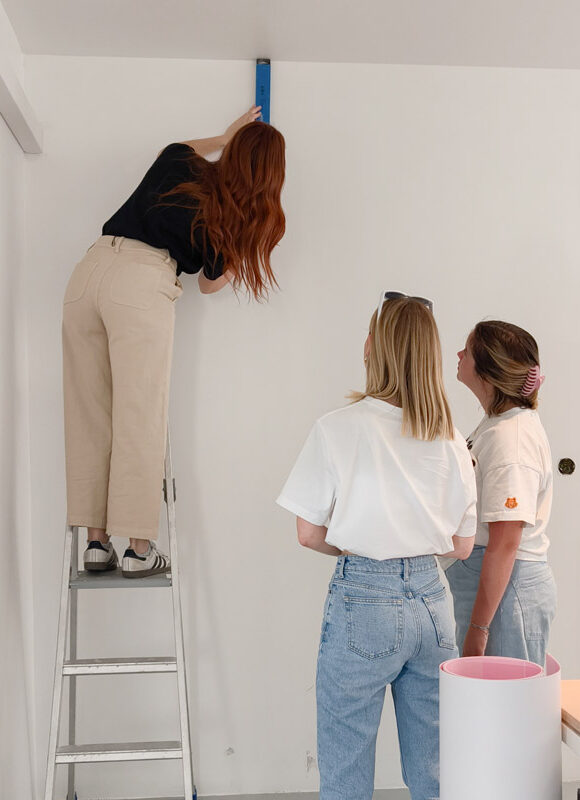
step n°1: preparationWall Preparation

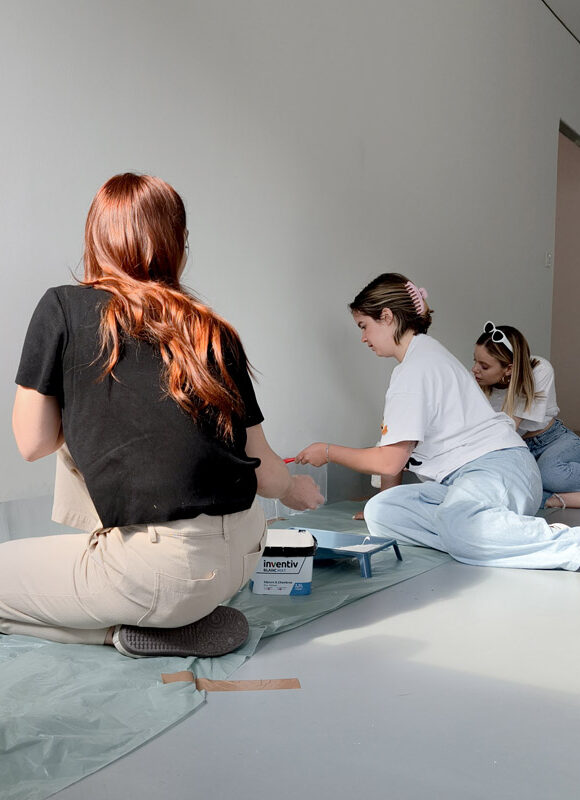
To begin, make sure your wall surface is smooth, even, clean, and dry. If the wall is too uneven or if the paint is flaking, we recommend using a smoothing filler and a primer coat.

  • Remove obstacles: take off nails, screws, and outlet/switch covers, and fill any cracks.
  • Turn off the electricity and remove outlet and switch covers.
  • Sanding and cleaning: sand any porous areas, then clean with warm water and mild soap. Allow to dry for at least 24 hours.
  • Finishing: For best results, paint the wall in a light, even color to prevent dark tones or patterns from showing through the wallpaper.

step n°2: getting startedMeasure and mark a guide

The installation of our wallpapers is made easier thanks to custom-cut strips, ready to hang.

  • Check dimensions: Make sure the wallpaper measurements match your order. If you notice any visual discrepancies, do not install the product and contact our customer service.
  • Check that the pattern matches your order and that the seams are correct.
  • Measure the width of the first strip and transfer this measurement onto your wall.
  • Using a level, lightly draw a vertical guideline: this will ensure a perfectly straight installation.

step n°3: the easy partPaste the wall

Important: Our wallpapers are printed with water-based inks. To avoid discoloration, we recommend not using solvent-based adhesives. We recommend solvent-free non-woven wallpaper paste from the QUELYD brand.

  • Prepare the paste following the manufacturer’s instructions.
  • Let it rest for about 10 minutes before application.
  • Using a roller, apply the paste directly onto the wall, covering the width of one strip, following the guideline drawn on the wall.
  • Apply the paste smoothly and evenly over the surface (slight overflow is fine). Avoid lumps.

step n°4: installationHang your strips

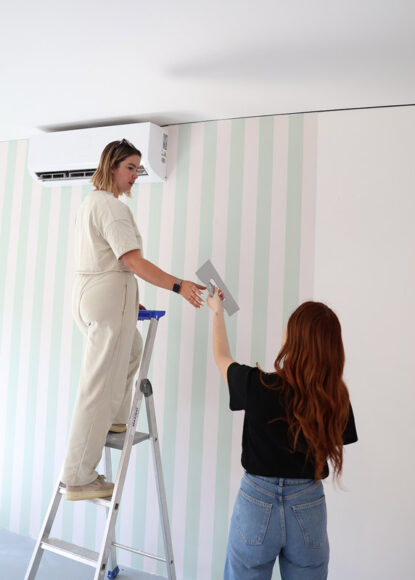
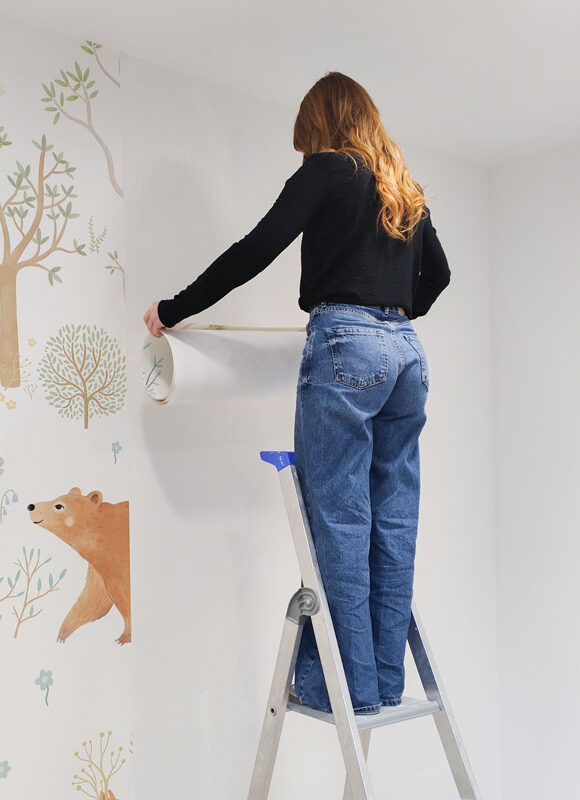
  • Position the first strip: follow the numbering at the bottom of each strip and install them in order, from left to right, starting with strip n°1. Use the wall guideline for proper alignment.
  • Check that the strip is perfectly straight using a level. If not, reposition or gently remove and reapply.
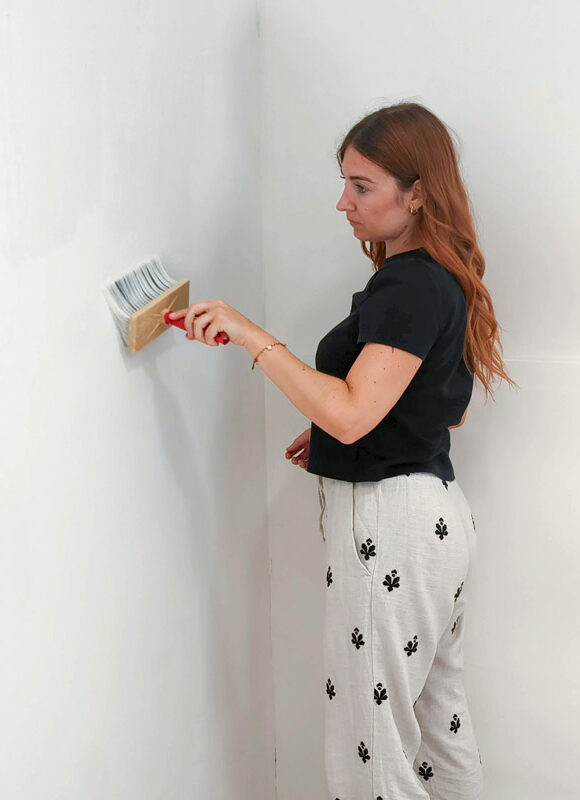
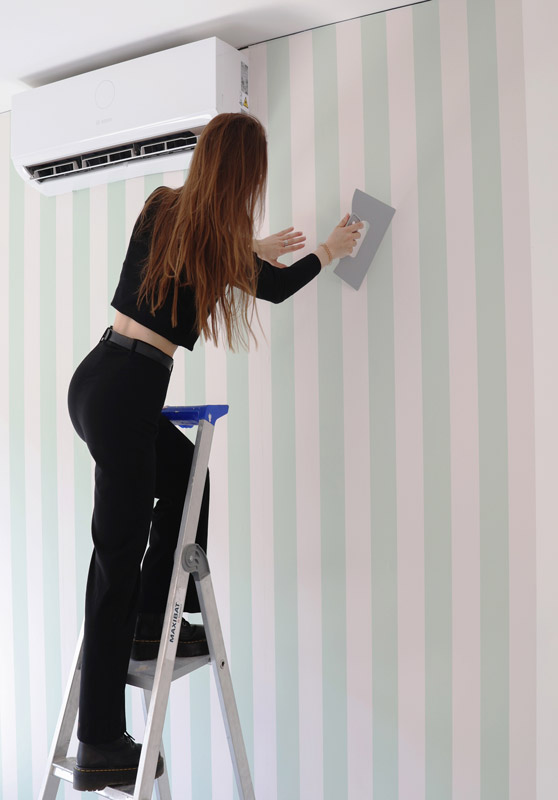
  • Smooth the wallpaper using a soft brush or smoothing tool, working from the center outwards to remove air bubbles and ensure proper adhesion.
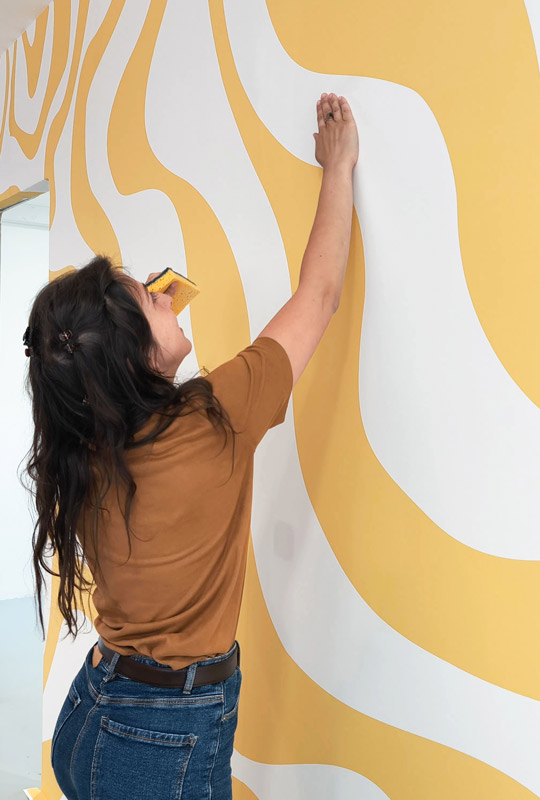
  • Wipe away any excess paste as you go using a non-abrasive sponge or slightly damp microfiber cloth to avoid marks on the wallpaper, adjacent walls, or ceiling.

step n°5: seamsRepeat the process

  • Continue strip by strip, using the same method until the entire surface is covered.
  • Thanks to made-to-measure production, the pattern matching is already perfectly aligned: simply slide the strips slightly to achieve seamless continuity.

Special cases:

Installing wallpaper in corners
Installing wallpaper around outlets
Installing wallpaper on sloped walls

step n°6: you’re almost done!Trimming and cleaning

  • Using a slightly damp sponge or microfiber cloth, wipe away any paste residue as you work. Once all strips are installed, go over everything again to remove any remaining marks.
  • Using a sharp utility knife, carefully trim excess wallpaper along the ceiling, baseboards, and corners for a clean and precise finish.
  • Well done, you’ve finished! Let the wallpaper dry naturally at room temperature, avoiding drafts and temperature changes to prevent shrinking or peeling.
If you encounter any difficulties or if the result does not meet your expectations, please do not hesitate to contact our customer service team. They are dedicated to providing you with all the assistance you need.